푸시 메시지 연동
지원 SDK 버전
Flutter SDK 2.8.0 이상 버전에서 지원하는 기능입니다.
Android Firebase 연동
Firebase 프로젝트 연동하기
안드로이드 앱에서 푸시 메시지를 사용하기 위해서는 핵클 워크스페이스와 Firebase 프로젝트 연동 설정이 필요합니다.
자세한 내용은 Android FCM 연동을 참고해주세요.
Firebase Cloud Messaging SDK 연동하기
Firebase SDK 연동 가이드 및 Firebase Cloud Messaging 설치 가이드를 참고하여 안드로이드 앱 설정을 완료해주세요.
iOS APNs 연동
APNs 설정하기
iOS 앱에서 푸시 메시지를 사용하기 위해서는 핵클 워크스페이스와 APNs 연동 설정이 필요합니다. 자세한 내용은 Apple Push Notification Service 설정을 참고하세요.
핵클 SDK와 연동하기
APNs 토큰 전달
핵클에서 Flutter 앱이 설치된 기기에 푸시 메시지를 전달할수 있도록 아래의 설정을 완료합니다.
import Flutter
import Hackle
import UIKit

@UIApplicationMain
@objc class AppDelegate: FlutterAppDelegate {
    override func application(
        _ application: UIApplication,
        didFinishLaunchingWithOptions launchOptions: [UIApplication.LaunchOptionsKey: Any]?
    ) -> Bool {
        ...
        // 기존 구현된 코드 내에 추가
        let authOptions: UNAuthorizationOptions = [.alert, .badge, .sound]
        UNUserNotificationCenter.current().requestAuthorization(
            options: authOptions,
            completionHandler: { _, _ in }
        )
        UNUserNotificationCenter.current().delegate = self
        application.registerForRemoteNotifications()

        ...
    }

    override func application(_ application: UIApplication, didRegisterForRemoteNotificationsWithDeviceToken deviceToken: Data) {
        Hackle.setPushToken(deviceToken)
    }
}
#import <Flutter/Flutter.h>
#import <UIKit/UIKit.h>
#import <UserNotifications/UserNotifications.h>
@import Hackle

@interface AppDelegate : FlutterAppDelegate

@end
- (BOOL)application:(UIApplication *)application
    didFinishLaunchingWithOptions:(NSDictionary *)launchOptions {
    ...
    // 기존 구현된 코드 내에 추가
    UNUserNotificationCenter* center = [UNUserNotificationCenter currentNotificationCenter];
    [center requestAuthorizationWithOptions:(UNAuthorizationOptionAlert + UNAuthorizationOptionSound) completionHandler:^(BOOL granted, NSError * _Nullable error) {}];
    center.delegate = self;
    [[UIApplication sharedApplication] registerForRemoteNotifications];
    ...
}

- (void)application:(UIApplication *)application didRegisterForRemoteNotificationsWithDeviceToken:(NSData *)deviceToken {
  [Hackle setPushToken:deviceToken];
}
푸시 메시지 표시
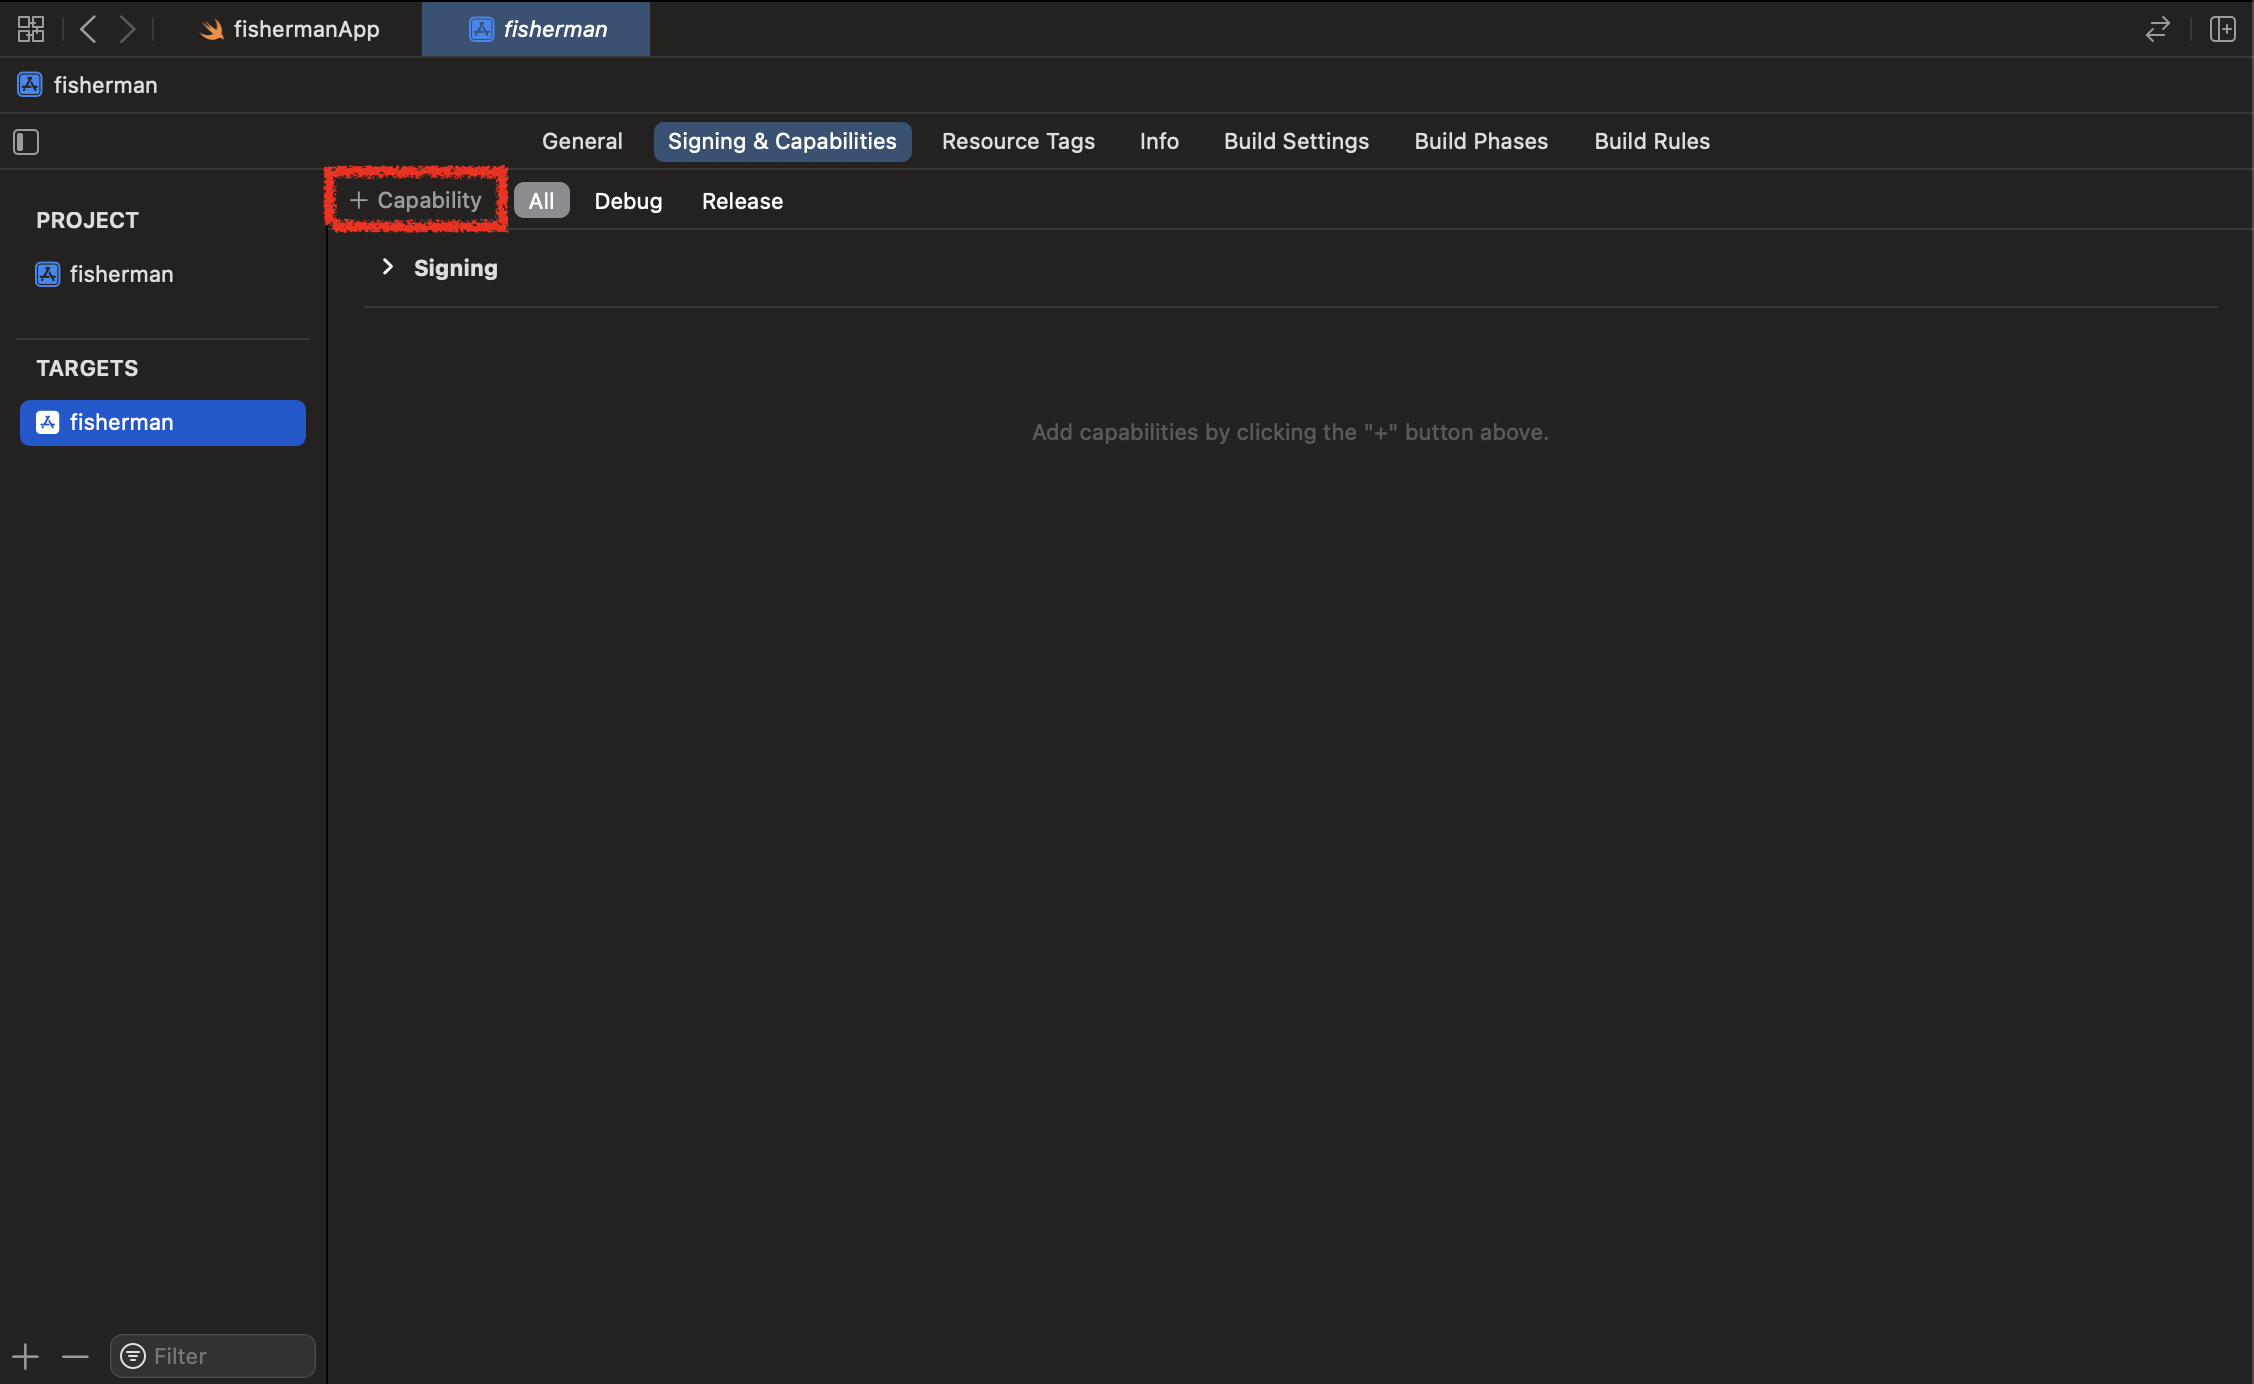
Xcode로 /ios/Runner.xcworkspace 파일을 열어 프로젝트를 연 후 Signing & Capabilities 탭에서 + Capability를 아래와 같이 클릭해주세요.
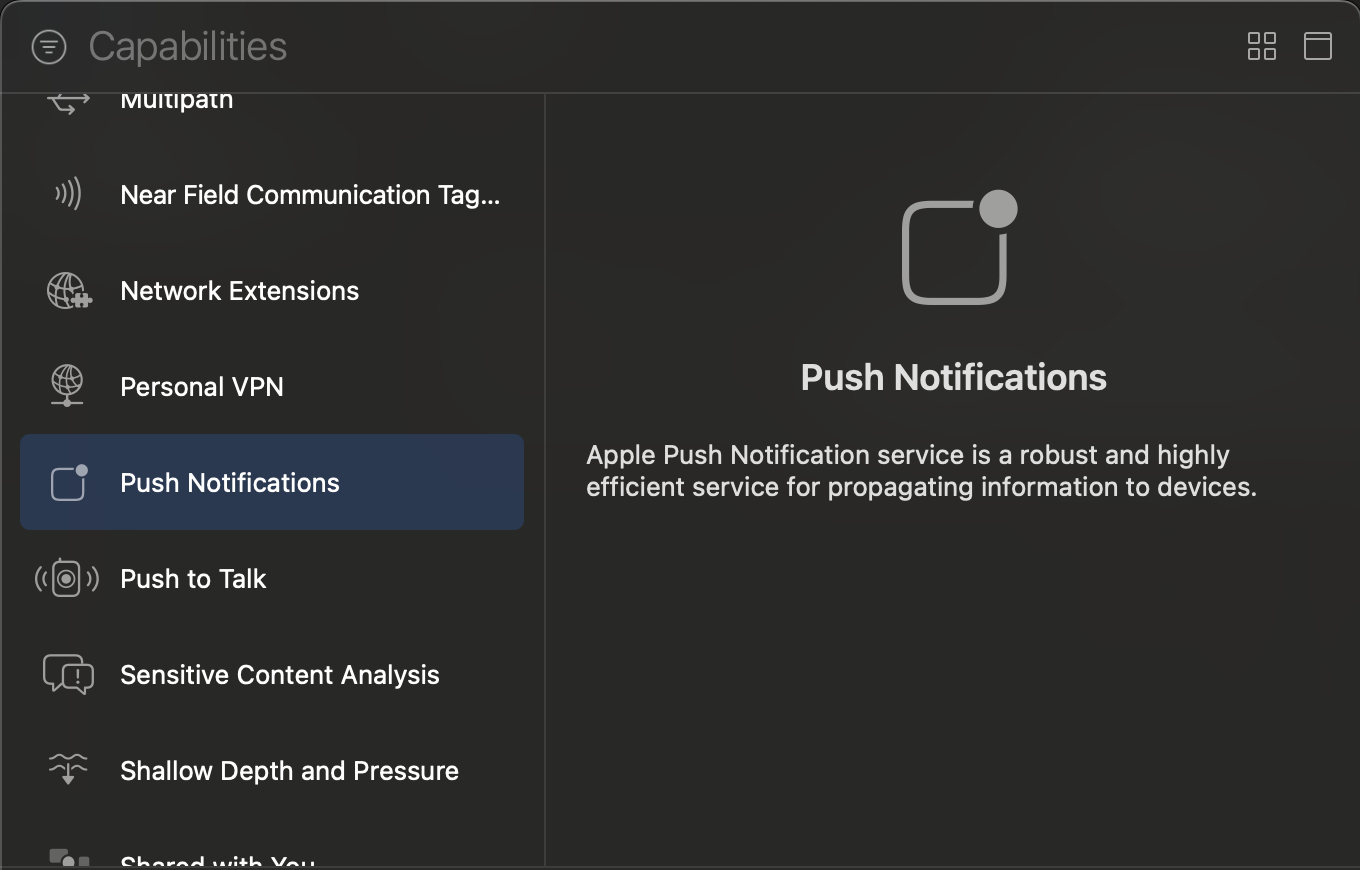
Push Notifications과 Background Modes 를 추가해주세요.

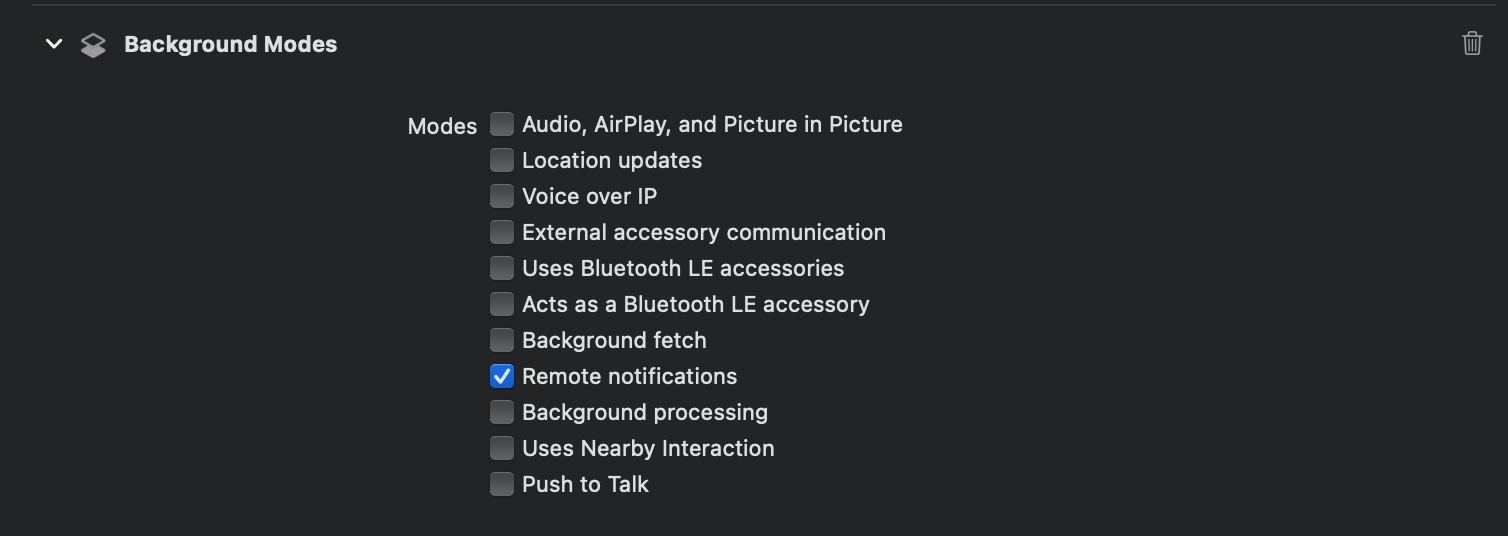
Background Modes의 Remote notifications를 활성화해 주세요
핵클에서 보낸 푸시 메시지를 표시하기 위해서는 아래와 같이 설정해 주세요.
import Flutter
import Hackle
import UIKit

@UIApplicationMain
@objc class AppDelegate: FlutterAppDelegate {
    ...

    // Foreground push message
    override func userNotificationCenter(_ center: UNUserNotificationCenter, willPresent notification: UNNotification, withCompletionHandler completionHandler: @escaping (UNNotificationPresentationOptions) -> Void) {
        if Hackle.userNotificationCenter(center: center, willPresent: notification, withCompletionHandler: completionHandler) {
            // Succefully processed notification
            // Automatically consumed completion handler
            return
        } else {
            // Received not hackle notification or error
            print("Do something")
            if #available(iOS 14.0, *) {
                completionHandler([.list, .banner])
            } else {
                completionHandler([.alert])
            }
        }
    }

    // Converted push message
    override public func userNotificationCenter(_ center: UNUserNotificationCenter, didReceive response: UNNotificationResponse, withCompletionHandler completionHandler: @escaping () -> Void) {
        if Hackle.userNotificationCenter(center: center, didReceive: response, withCompletionHandler: completionHandler) {
            // Automatically consumed completion handler
            return
        } else {
            // Received non hackle notification or error
            print("Do something")
            completionHandler()
        }
    }

    ...
}
// Foreground push message
-(void)userNotificationCenter:(UNUserNotificationCenter *)center willPresentNotification:(UNNotification *)notification withCompletionHandler:(void (^)(UNNotificationPresentationOptions options))completionHandler {
  if ([Hackle userNotificationCenterWithCenter:center willPresent:notification withCompletionHandler:completionHandler]) {
    // Succefully processed notification
    // Automatically consumed completion handler
    return;
  } else {
    // Received not hackle notification or error
    NSLog(@"Do something");
    completionHandler(UNNotificationPresentationOptionList | UNNotificationPresentationOptionBanner);
  }
}

// Converted push message
-(void)userNotificationCenter:(UNUserNotificationCenter *)center didReceiveNotificationResponse:(UNNotificationResponse *)response withCompletionHandler:(void(^)(void))completionHandler {
  if ([Hackle userNotificationCenterWithCenter:center didReceive:response withCompletionHandler:completionHandler]) {
    // Automatically consumed completion handler
    return;
  } else {
    // Received non hackle notification or error
    NSLog(@"Do something");
    completionHandler();
  }
}

@end
(Advanced) iOS 이미지를 포함한 푸시 메시지 표시 (Rich Push Notification)
iOS 앱에서 이미지를 포함한 푸시 메시지를 보여주기 위해서는 Notification Service Extension을 추가하여 아래의 설정을 완료합니다.
iOS Rich Push Notification 설정 가이드
iOS Rich Push Notification 에 대한 자세한 사항은 Rich Push Notification 에서 확인 가능합니다.
(Advanced) 딥링크 이동
핵클 푸시 메시지는 클릭 시 딥링크 이동을 지원합니다. 푸시 메시지를 통해 해당 액티비티가 열리는 경우 아래와 같은 방법으로 열린 딥링크 정보를 확인할수 있습니다.
Flutter 딥링크에 대한 자세한 사항은 Flutter 딥링크 가이드 에서 확인 가능합니다.
Updated 26 days ago